-
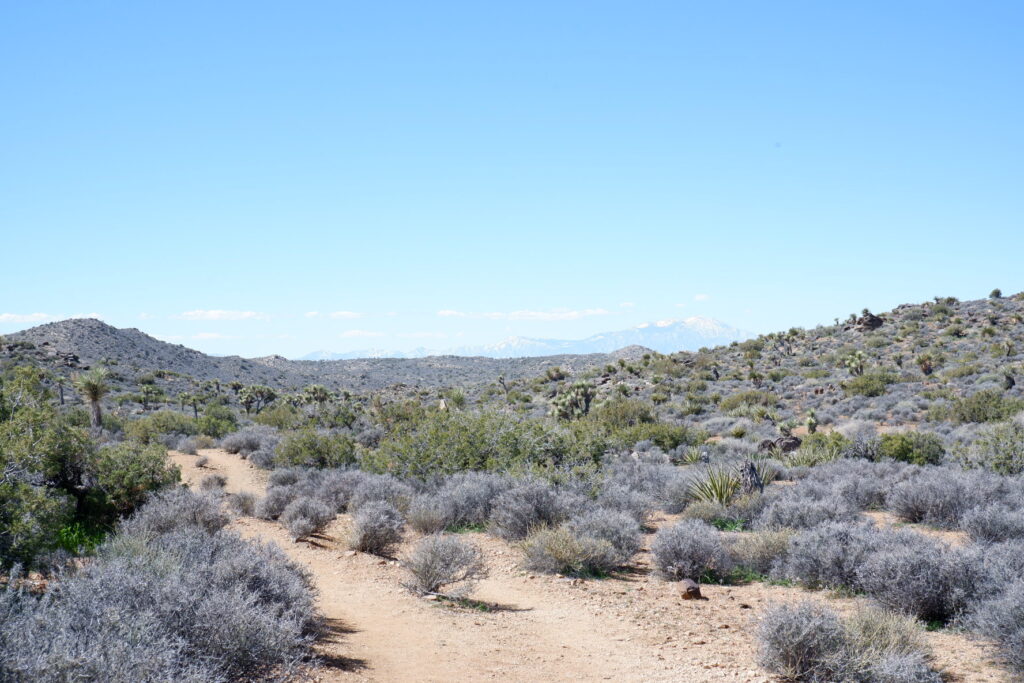
Lost Horse Mine Loop
-
Joshua Tree National Park


-
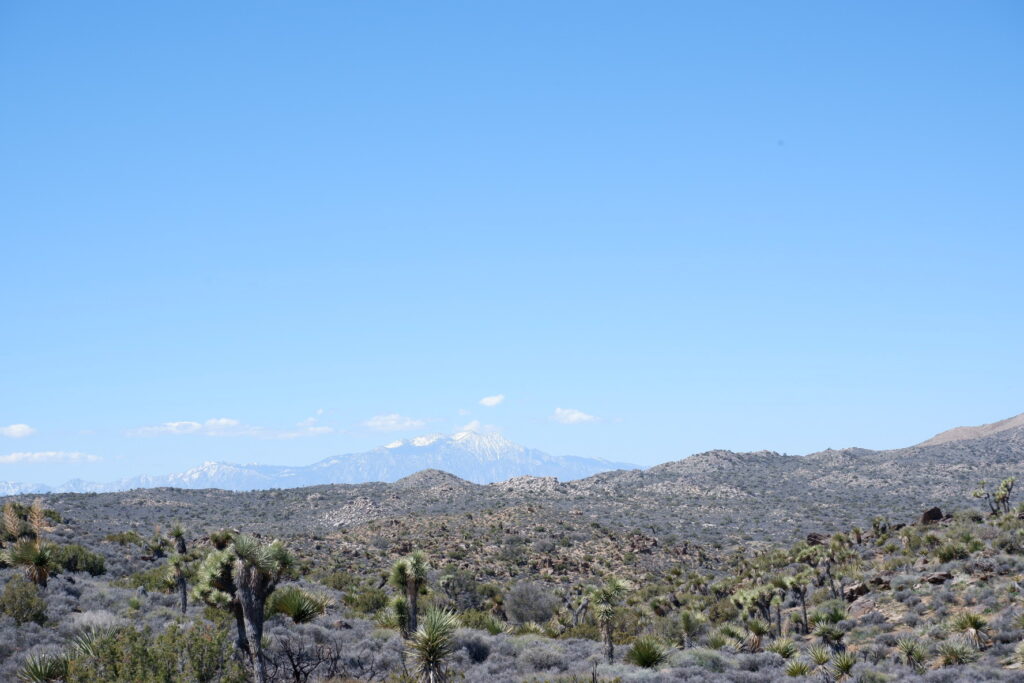
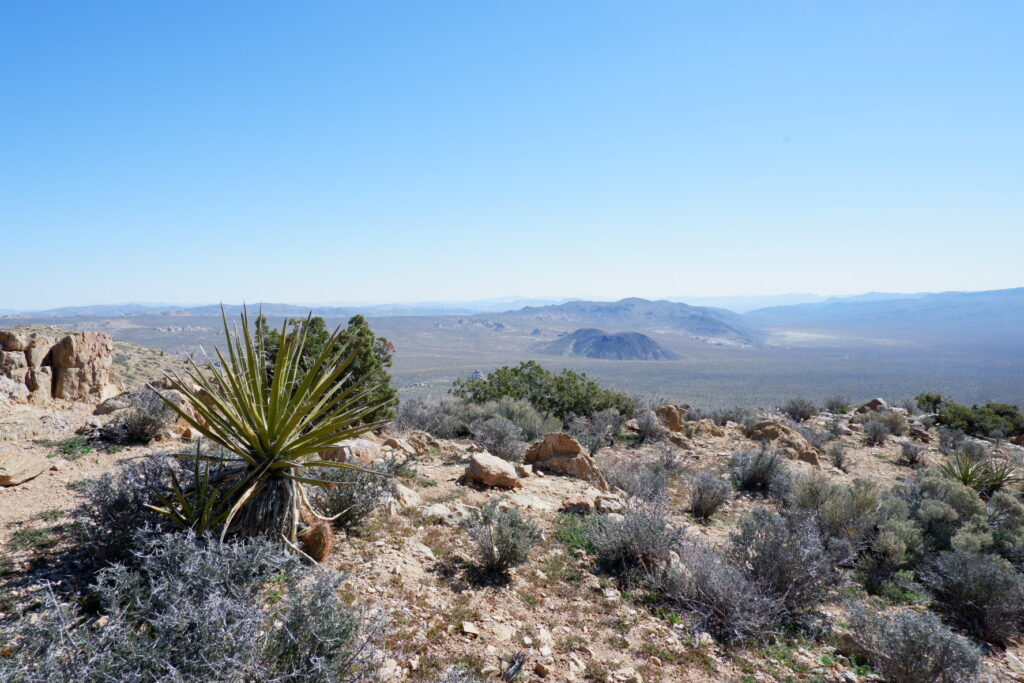
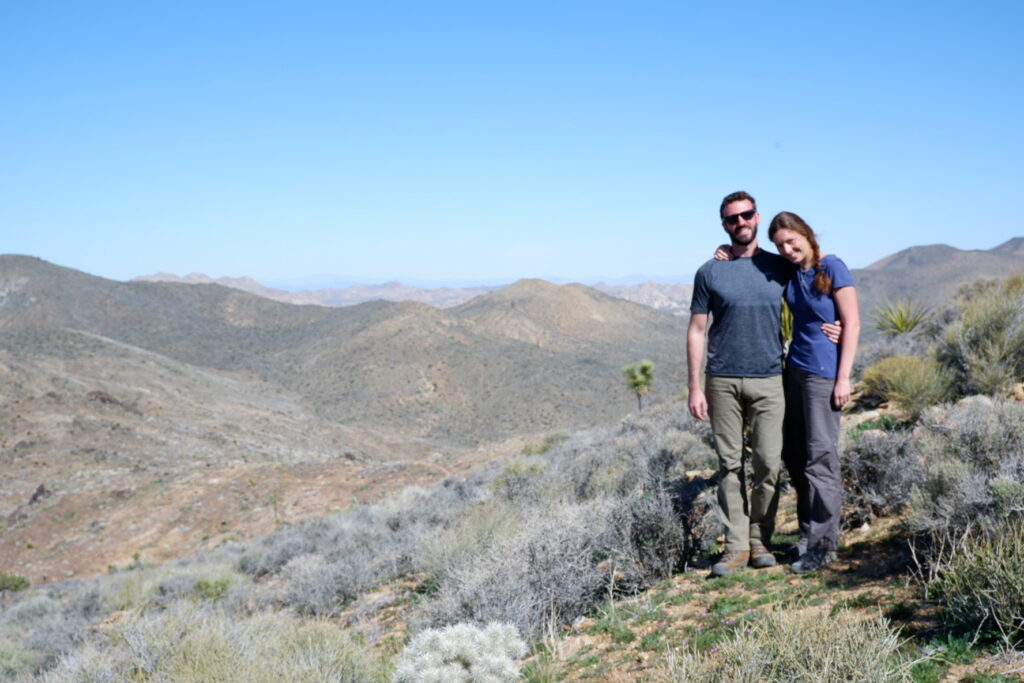
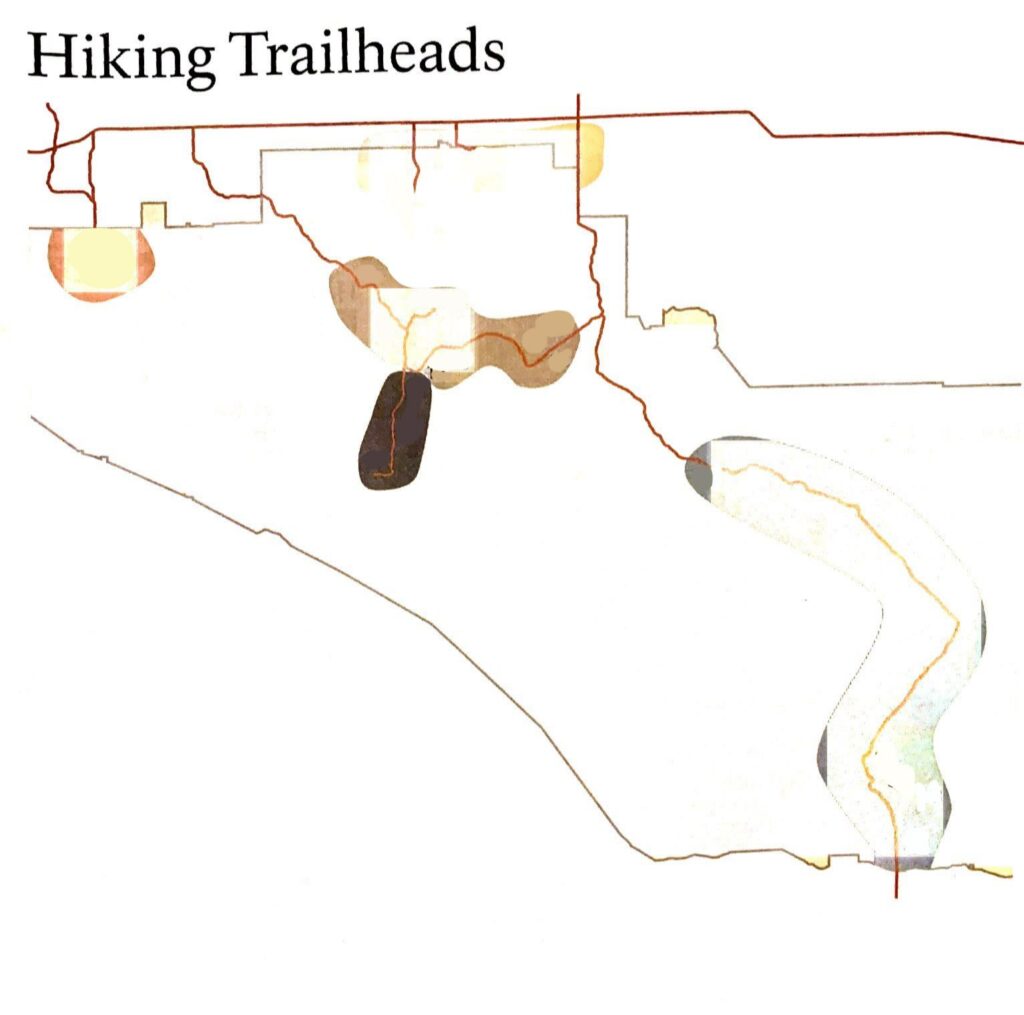
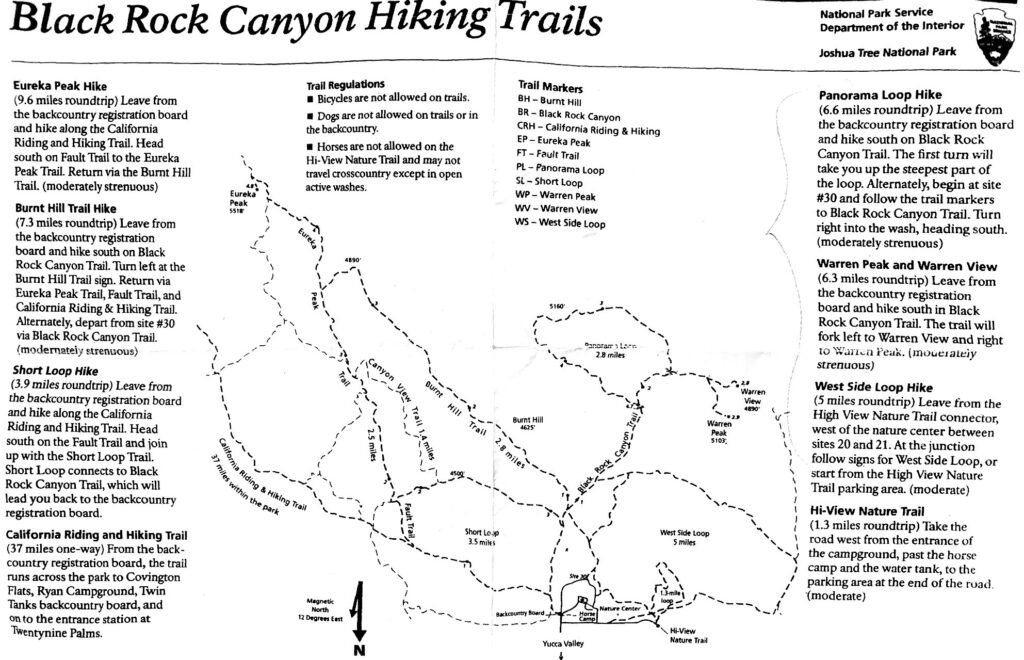
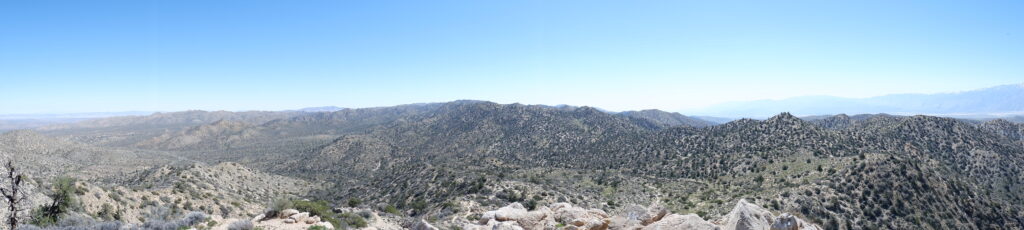
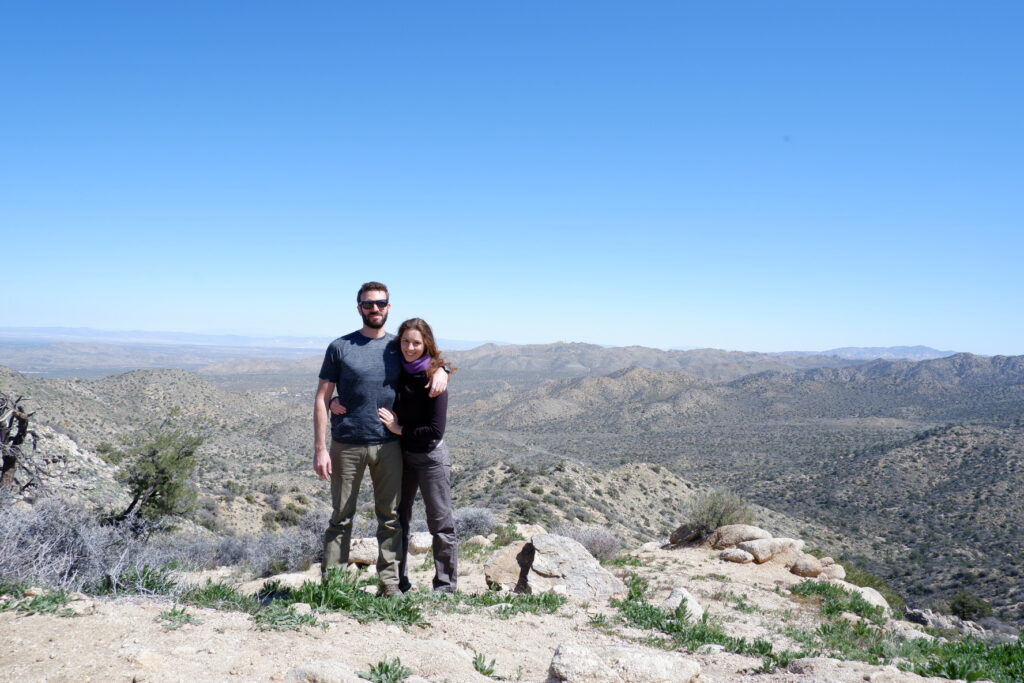
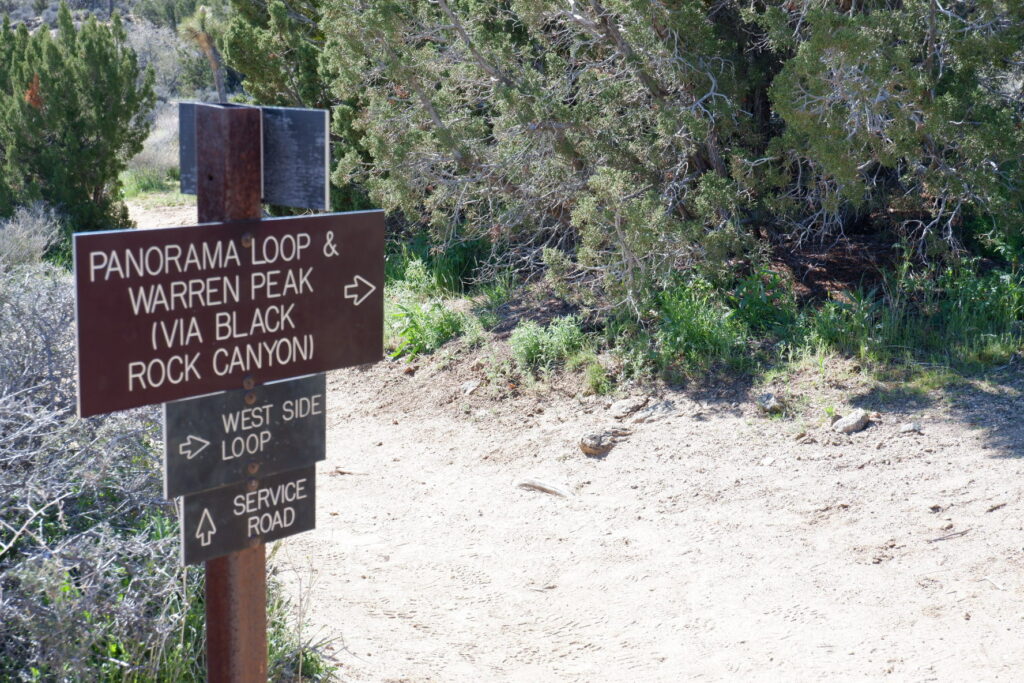
Warren Peak and Panorama Loop


-
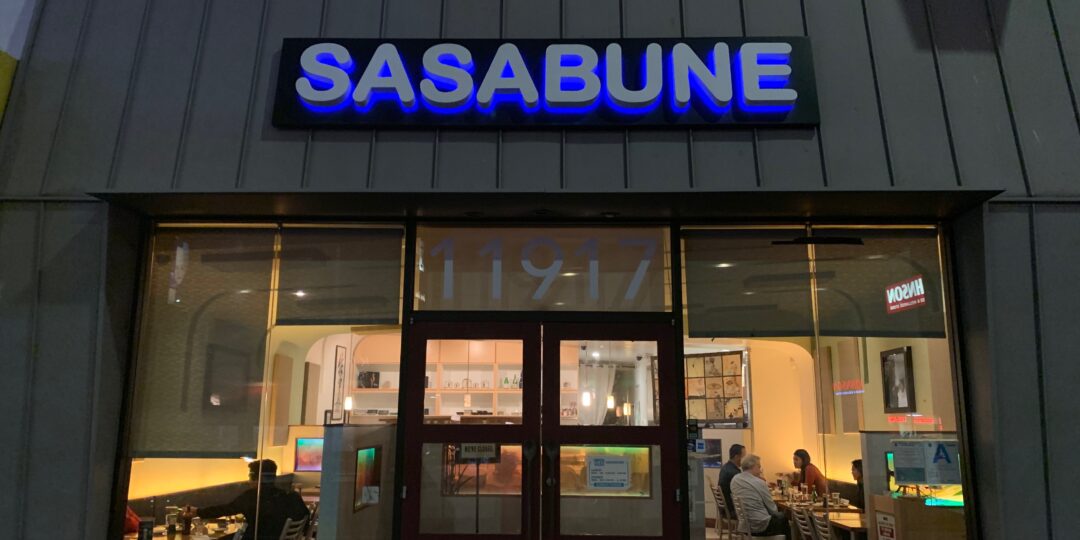
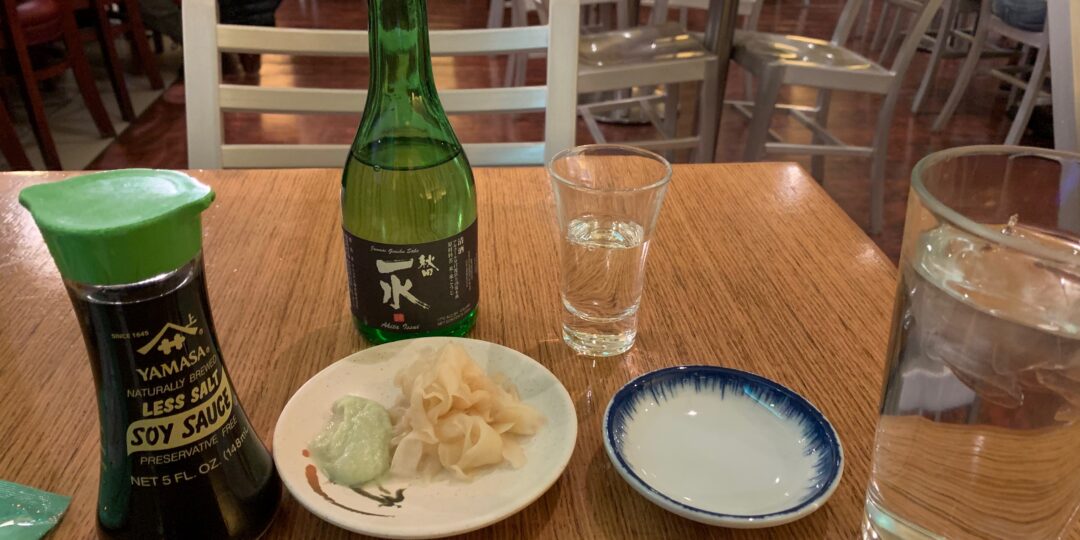
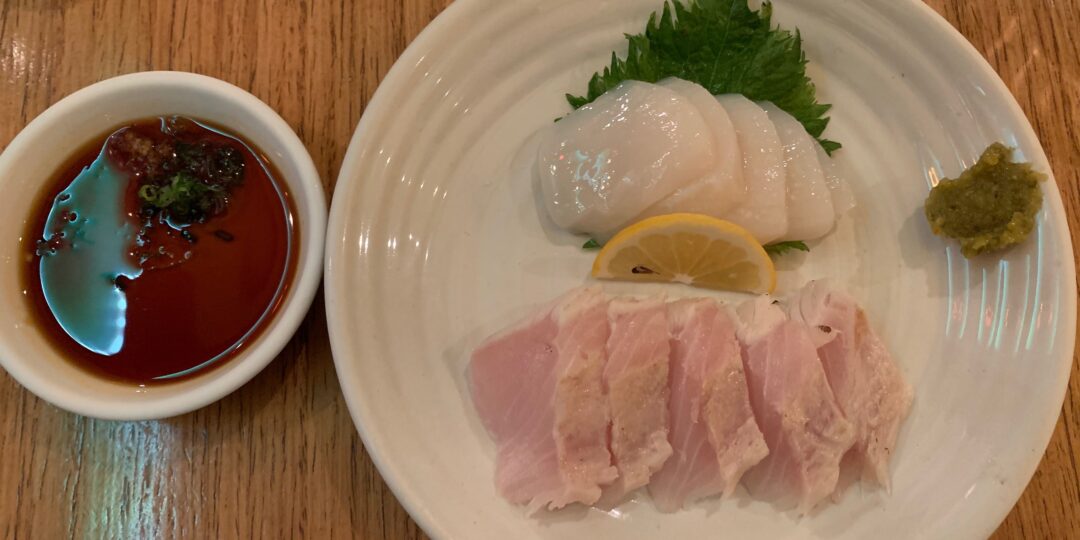
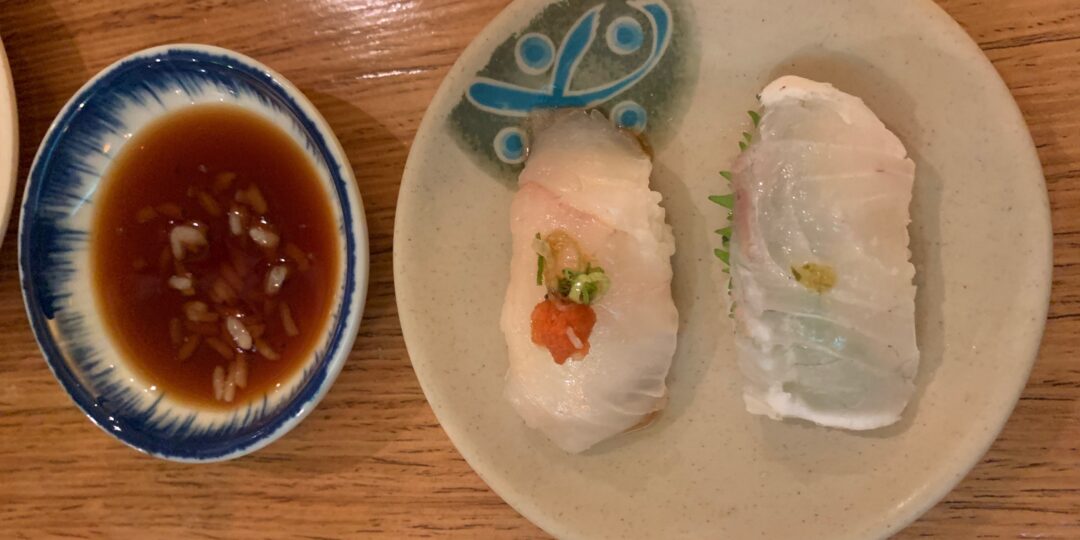
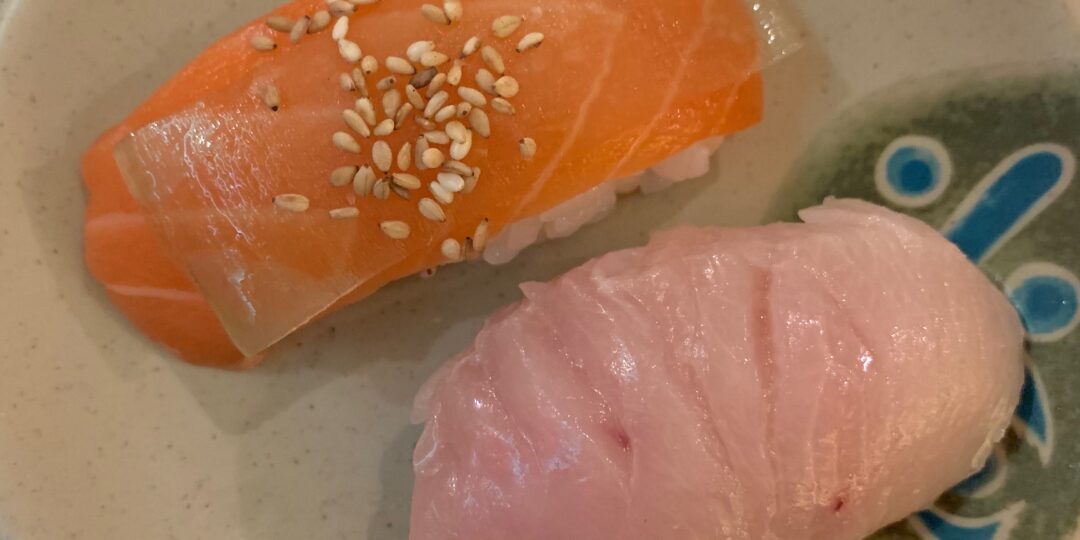
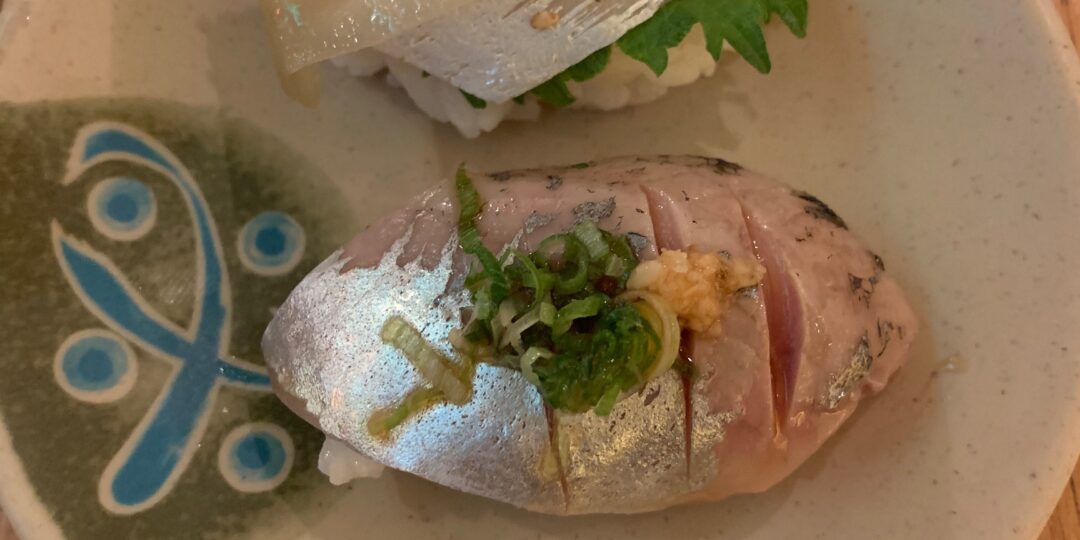
SUSHI SASBUNE – Los Angeles


-
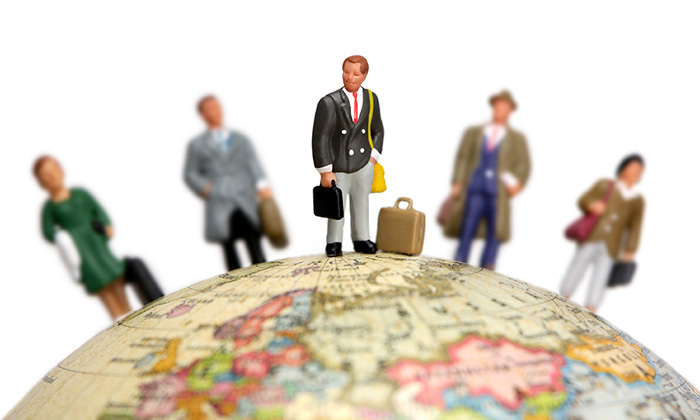
The hitchhiker’s guide to becoming an expat
I Want to Move Abroad – Where Do I Start?
With 195 countries in the
world, becoming an expat is an enchanting idea. However, moving abroad is an
enormous decision that comes with a laundry list of to-dos and what-ifs — How
do I obtain a visa? Where will I work? What if I can’t find a place to live?
How will I make friends?Becoming an expatriate comes
with its challenges and with a lot of preparation, but at the end of the day,
experiencing all the world has to offer can be a fulfilling life experience
with opportunities to learn about new places and cultures. Living in another
country can push you outside of your comfort zone and force you to appreciate
life in the moment.To help you plan this new adventure, here’s a list of things to keep in mind before moving overseas.
Is your passport up to date?
Before you even begin packing to make the move abroad, make sure you’re legally able to board the plane! If you haven’t traveled in a while, pull that passport out of your drawer, clean off the dust and double check the expiration date. If your passport expires in less than 2 years and you’re not 100% sure how long you want to be abroad, go ahead and renew! Your passport is the most important thing you’ll own when you’re moving overseas. Don’t forget to pay close attention to the dates or the only place you’ll be moving to across the street, not across the world.
What’s your planning timeline?
An international move doesn’t happen overnight! I mean, maybe the actual flight happens overnight but the logistics sure don’t. Give yourself time to organize your life back home and your future move. Prepare your friends and family for the move while ensuring you’re completing everything on your moving abroad checklist (i.e. passport, vaccines, visas). The more in advance you plan, the more organized your move will be!
What will you do with your possessions?
Most likely, you’ve accumulated lots of “stuff” in your life. Sell off everything? Keep things in storage? An important fact of living abroad for a year or more is that everything you own will not be making the move with you. Maybe your parents or a friend has a closet they’re willing to let you store things in. If you have a car, consider selling it! Bedroom furniture, kitchen appliances, clothing items — go through it all and clean it out.
Where are you thinking of moving?
If you’re asking yourself “I want to move abroad where do I start?” chances are you already have a destination in mind. There’s a lot to consider when choosing which destination to settle down in. Consider questions like…
Do you need a visa?
Visas are the gatekeepers into the country you wish to live in.
Making sure you’ve applied for
the right visa is the biggest thing! Each country differs, and unfortunately,
it’s totally up to you to do all the research to ensure you can actually enter
the country. You’ll probably find that there are many different visas when you
go to apply, though if you plan to work, or you’re heading over to study, it’s
really important to apply for the right visa. For instance, restrictions on a
tourist visa won’t allow you to work, and in many countries may only permit you
to stay for 30 days. It’s a big deal if you breach the terms of your visa, so
make sure you’re getting the right one.Visa applications are often
drier than doing your taxes, but print all the forms and information, pull out
your highlighters and read through everything a couple of times. I find that
physically printing something out and being able to highlight it means I
understand the process better than if I was reading it online. I then make my
own checklist of everything I need to do and include. Visa applications can
take a lot of time to process, and they often cost a lot. If you’re denied
because you forgot to include something, you won’t get a refund of your money
or your time. So be meticulous in checking, double checking and triple checking
your applications.The best place to find visa
information is usually on your government website, and the government website
of your chosen country. There may also be a website set up for your embassy in
the country you hope to move to.A simple Google search will usually point you in the right direction but be careful with third party websites that claim they can get them for you fast.
What’s the cost of living like?
Your money will go further in some countries more than others. For example, lunch in Thailand will cost you about 2 dollars while lunch in Rio de Janeiro will set you back more like 8-10 dollars. Consider the cost of living and your budget.
How do I find a place to live?
It’s so much easier to find a place to live when you’re already abroad. Before you move, go visit the country you intend to move to and make sure to get a sense of neighborhoods and pricing. When you arrive, consider renting an Airbnb for a month (you may be able to do at a discounted rate since it is a longer-term stay). This will allow you to dedicate the majority of your time to apartment hunting.
Will I find a community of other expats?
You’ll
quickly realize after you settle into your new home the importance of community
and friendships. If you’re moving abroad alone, it’s important to consider if
there will be opportunities to become friends with other expats or locals. Traveling alone
and working remote can feel isolating at times. It’s always nice to make
connections, whether they’re digitally or in-person.Thankfully,
because of social media, there are so many wonderful online resources for
expats. From private Facebook groups to online forums, there’s really something
out there for everyone.But
don’t forget to get out and explore the city as much as possible. Markets, art
galleries, street food, events. There are always questions to ask and people
interested in sharing their culture with you. Select cafés, shops and
restaurants where you can become a regular. It’s such a nice feeling to be
recognized and sometimes even called by your first name. Most often, this is
the beginning of quite a few friendships.Many expats are eager to meet other like-minded people; others focus on meeting locals—try to do both. There is always a lot of coming and going within the expat community, so it is nice to also have some local friends.
How will you support yourself abroad?
It’s all about the money, honey. Unfortunately, the entire world revolves around it — even small villages in the Philippines. Once you move abroad, how are you planning on continuing to live abroad? You can work online, teach English, move somewhere with a working holiday visa to support your living or survive on hostel and tourism jobs.
Consider where you’ll be relocating and what the opportunities might be. If there are limited options for traditional employment, it’s time to start thinking creatively. In today’s global, connected world it’s possible to have a career and build your own financial path online. Consider what your work history is, what skills you have and what possibilities exist. If you can begin trialing this before you leave your home country, you can have an understanding of what’s required. If you do decide to look for traditional employment, get connected with local expats as soon as possible. People who are on the ground already have a pulse for what’s available and where to start looking. Ideally having some sort of employment in place before you move is the best option.
Plan for transportation
You should try to work out if you are going to need a car. This means you will need to decide if you are going to commute to work or live near your workplace or, perhaps you are lucky and work from home. Even if commuting, perhaps there are public transport options like rail, bus or ferry. You may not need to buy a car if you live in an urban center where it is easier to get around by non-car options.
These days we are a bit spoiled and
always try right away to see if Uber works in the country we go to. If it’s a
far distance though, try a Google search on the best way to get from A to B
using public transportation and use Google Maps on your phone to get info on
the next train/bus and how to get to the platform (you’d be surprised how much
info you get from the Maps app!).With easy-hire car options available, many city-based expats just rent a car for weekends if they are driving outside the city for sight-seeing or doing a trip somewhere. Other expats in the suburbs or regional areas will need to buy a car, and then they will have to think about the requirements for doing so e.g. car purchase process and costs, car insurance costs and if a local driving license is needed to legally purchase a car. Getting a driving license though is often required, so that means getting the necessary paperwork, passing driving tests etc, before buying. Many expats living in the suburbs will end up renting a car until they can get a driver license and meet car purchase requirements.
Ground control to Major Tom (stay close to friends and family back home)
Depending on how far away you move, it’s not likely you’ll have the time and finances to make the trip back home for every holiday. Moving abroad means missing out on important things back home. Birthday parties, weddings, holiday dinners….are all thousands of miles away. The reality is: your move abroad affects your loved ones back home. Are you willing to make sacrifices? WhatsApp is our #1 communication tool to use to keep up with family and friends. You can text internationally with no fees.
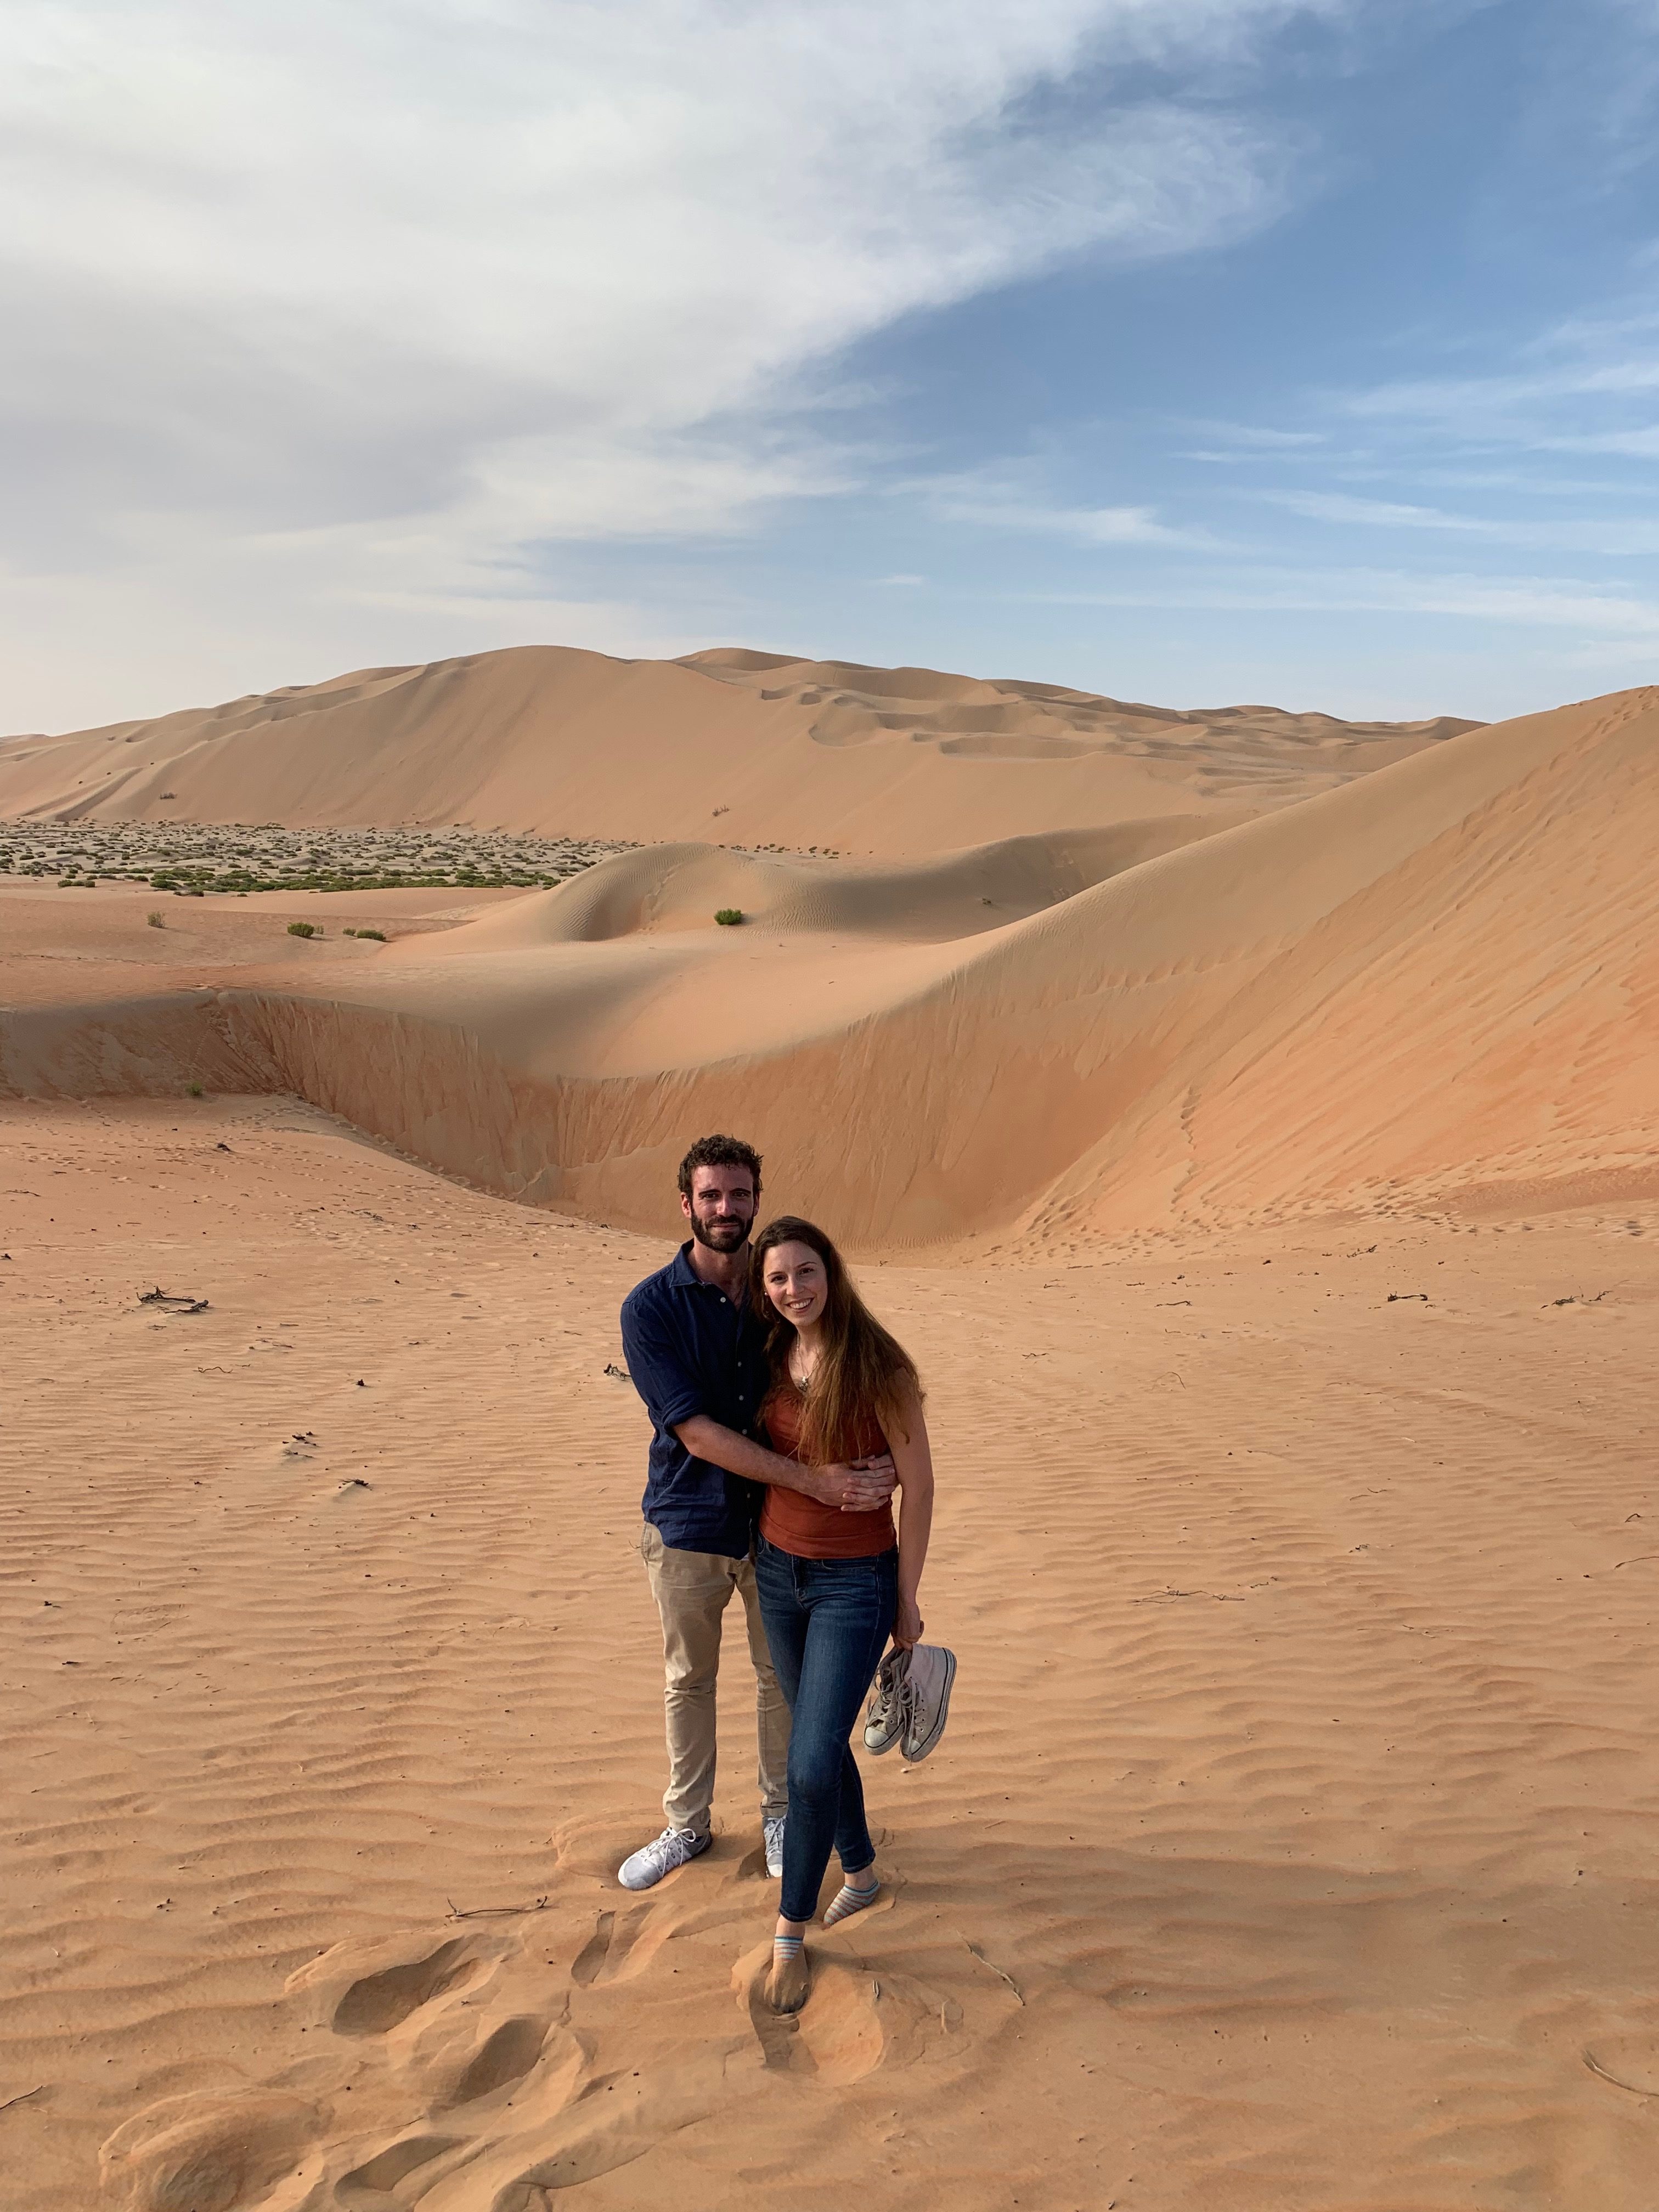
Prevent culture shock
We love learning about new cultures and venturing to far-off
lands that we couldn’t have even imagined existed when younger. This yearning
for knowledge and deep interest in new cultures always pushes us to do our
research before we travel to a destination.The more you take time to understand the culture, rituals, and
beliefs of a society, the less likely it is that you’ll be “shocked” when you
step foot off that plane. We’ve spanned the globe and have definitely felt like
a fish out of water in certain countries, cities, or townships, but, our
willingness to be open and accepting is what has allowed us to see the beauty all
over the world.It all depends on your destination and where you’re coming from. For us Europeans, America and the United Kingdom can be a very easy transition as they are similar to Italy. Although, when we decided to move to the Middle East, we had to adapt to the culture and respect the country costumes and traditions.
Learn the language…
Some people find learning a language easy, others struggle.
Some prefer to learn in a formal class while others would rather work at it in
private. Find out what works for you. Being surrounded by the new language all
day – full immersion – is the quickest and most effective way to learn.Let’s be honest, as an adult, it’s extremely difficult to learn
a new language, especially when you’re busy with travel, work, and life! But,
showing natives your willingness to try makes all the difference. A lot of
people are so afraid of making a mistake that they just give up altogether.
Give it a go! Most locals will be happy that you’re trying to communicate, even
if it’s “broken.”To start with, just focus on the basic phrases you need to
get through day to day life: greetings, numbers, food and directions. Then, you
can eat and get home if you get lost. Have a local language radio station on
whenever you can. Simply absorbing the spoken word, with all the intonations
and rhythms, helps set the language in your mind, almost subconsciously.Look at online newspapers written in your chosen language.
They are up-to-date and relevant, and you can use the pictures as clues to aid
comprehension. Following a specific story over a few days can help build and
confirm vocabulary.TV and films help too. Most satellite TVs have some foreign language channels where you can learn while watching. Alternatively, select a different language option on your favorite movie.
…and eat the food!
Go out and try everything! One of the best parts of moving abroad is tasting the cuisine and finding the new ways that people make food. Check out the local markets in your area or see if you can take a cooking class. Make sure to try the restaurants in your neighborhood or ask your neighbors where they like to eat.
Feel at home!
Adding little touches of home, like a simple blanket, candle or a book, really make any space feel like home. Bringing sentimental items into a new space can make it feel cozy. One of my favorite moments of my days as an expat is cooking in my new kitchen. The ritual of doing everyday things while abroad makes everything a little closer to home. It also helps to seek out restaurants that remind you of home.
Getting the opportunity to experience what life is like in other countries and in other people’s shoes is one of the most rewarding things you can ever experienced. When you live abroad, you get the chance to learn and feel what life is really about, and meet new people who can help show you that as well.
-
The hitchhiker’s guide to becoming an expat
-
How to pack for a desert adventure
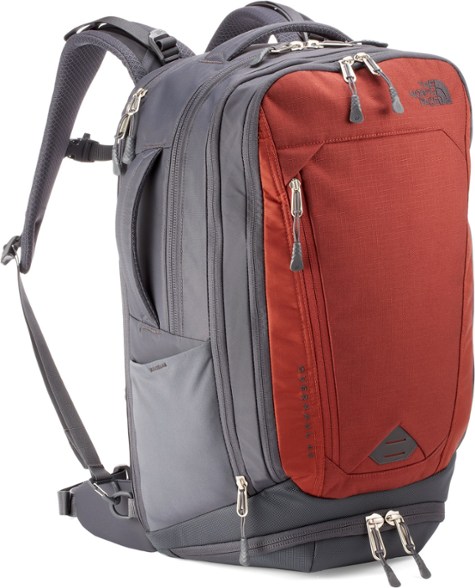
The North Face Overhaul 40 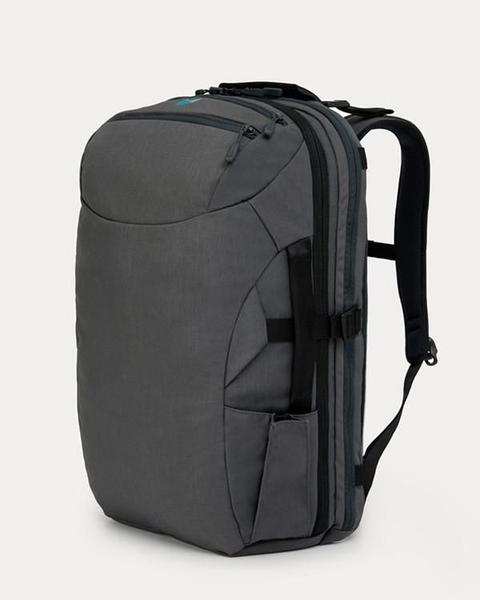
The Minaal Carry-on 2.0 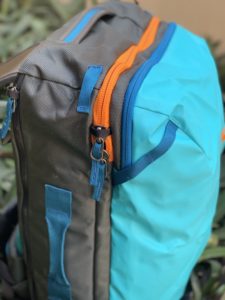
The Cotopaxi Allpa 35L 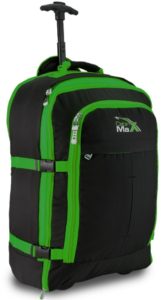
The Cabin Max Malmo 
-
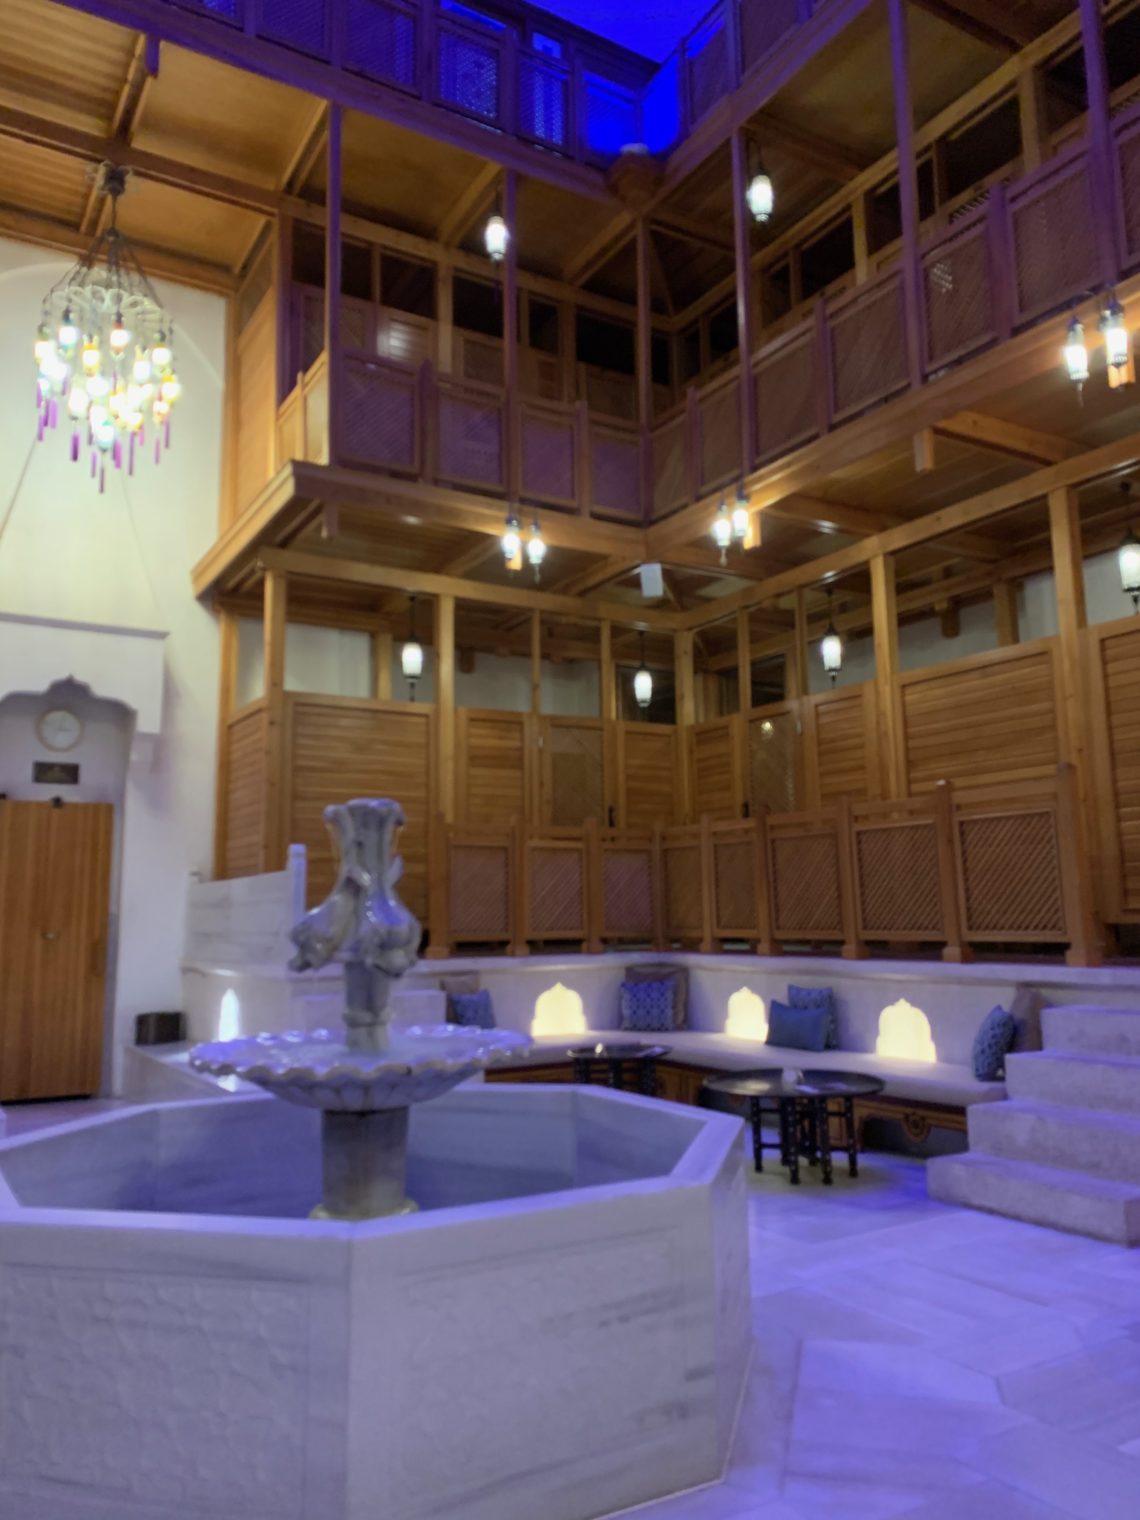
AYASOFYA HURREM SULTAN HAMAMI
After the long journey, this was our treat on the first afternoon in Istanbul. It was also cold and raining, which made it feel it even more right.
Apart from being a relaxing place it’s also an amazing site (architecturally speaking).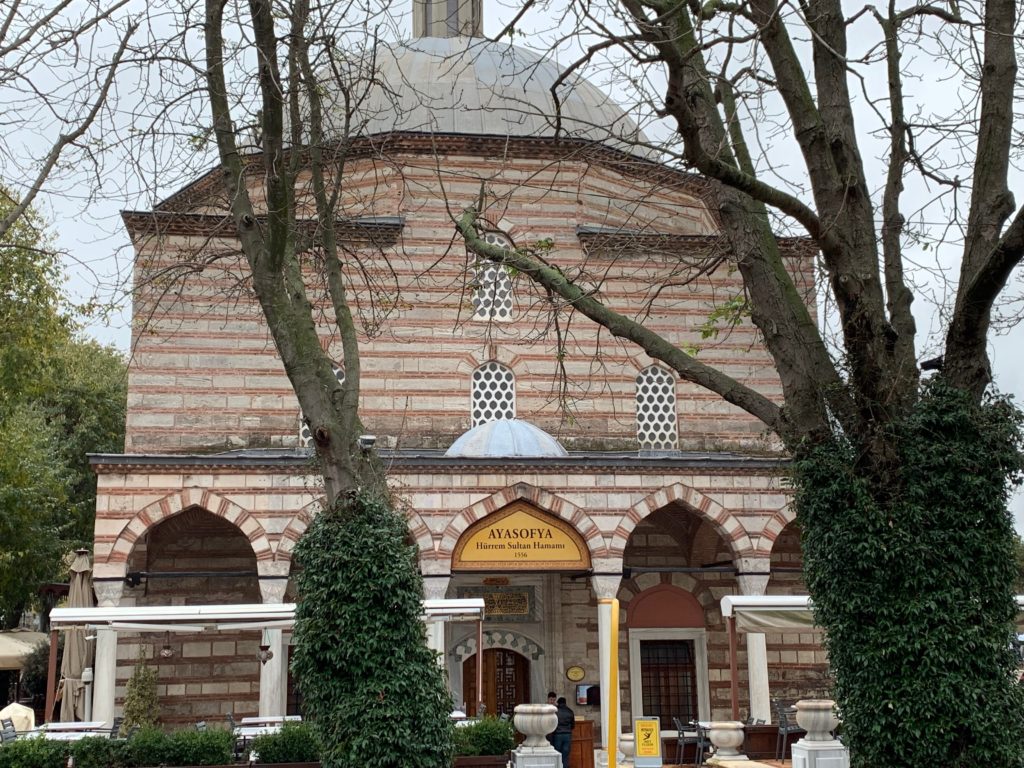
The Ayasofya Hurrem Sultan Hamam in Instabul was designed and built by Mimar Sinan, the chief Ottoman architect. It was built under the request of Hurrem Sultan (Roxelana), the wife of Sultan Suleiman the Magnificent in the 16th century. The Hamam was operational until 1910 when it closed for many years and was used for different purposes (among which house to convicts, and storage for paper and oil). It was then restores in 1958 and used as a carpet bazar until 2007. Public baths date back to Roman time were they were not only meant for practical purposes but also for the pleasure of gathering and entertainment. In Ottoman culture it took an important place for religious purposes. According to the Koran, cleanliness is a fundamental part of the faith. These marble temples also provided a meeting place for locals to partake in conversation along with bathing and massage.
The Ayasofia Hammam has separate sections for men and women, constructed on the same axis as mirror images of each other. The main and more visible entrance is the one of the male section. They are very organized though so they were able to check for us if there was availability at the same time in the female section. We strongly suggest you book ahead of time, especially for bigger groups, as it seems it was just out of luck we found a spot for both of us straight away.
Before entering in the Hammam you will have to wear slippers over your shoes. I was welcomed by a cat (one of the many in Istanbul) that was taking advantage of the warm coming out of the room. In the cold room there is the reception, the changing rooms, the resting area. This is where you’ll be asked to change into the pestamal (silk wrap) before your bath. After your bath you will rest here and relax drinking a sherbet (fruit tea) and eating lukumi. After changing you’ll be shown into the hot room. The room lies under the hammam’s dome and is surrounded by open and private alcoves. The temperature is around 42-27 degrees. Here there are basins to fill with cooling water and you will receive a gold-plated bowl for pouring water over your body while the heat prepares your skin for the scrub. One of the attendants will then come to you and scrub your body. The scrubbing is definitely not as harsh as the one I experienced in Morocco, which is definitely not something you’ll define pleasant… After the scrub you will receive a bubble massage on one of the warm stones under the dome. They will then wash you and cover your skin with rose water. A wonderful and relaxing experience. You’ll then walk back into the reception area where you will drink water and fruit tea and relax a bit before getting back into the cold and rainy weather (I guess that doesn’t apply all the time, but it did for us!)
There is the option of different bath packages, we both chose the PIR-U pack (80 euros) that included the scrub, the bubble wash and a head and neck massage. We were both very happy of the treatment, environment and staff. Definitely recommended.☎ 212-517 3535
info@ayasofyahamami.com; Cankurtaran Mahallesi Ayasofya Meydani No:2
?8-2
? Sultanamet
-
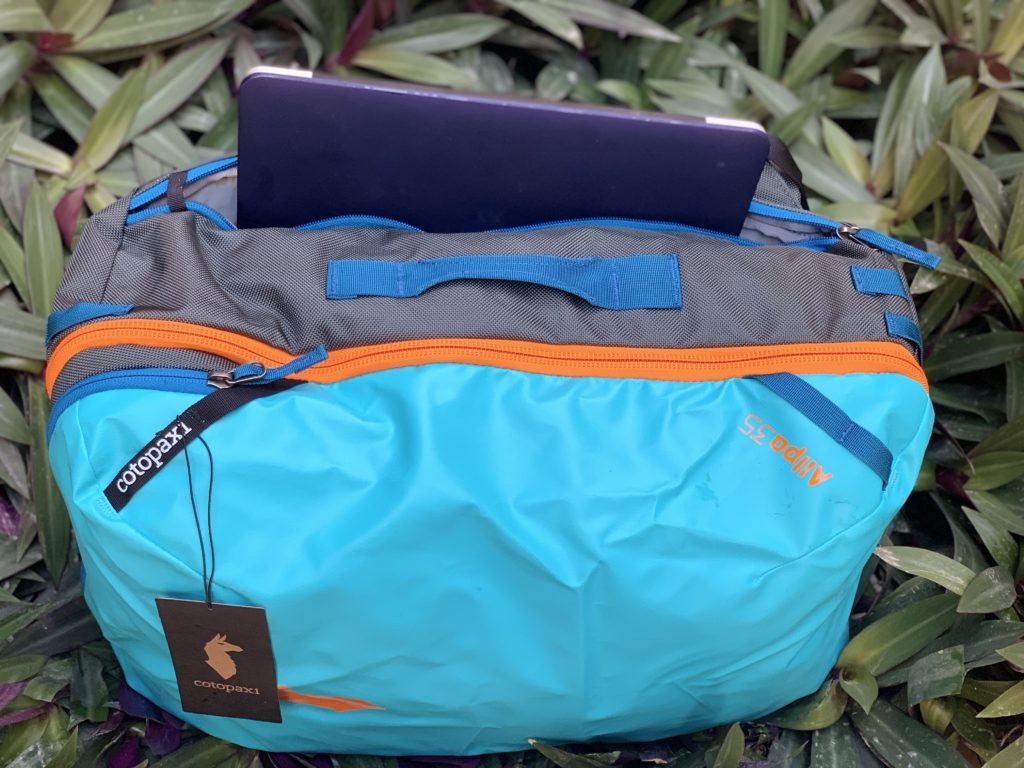
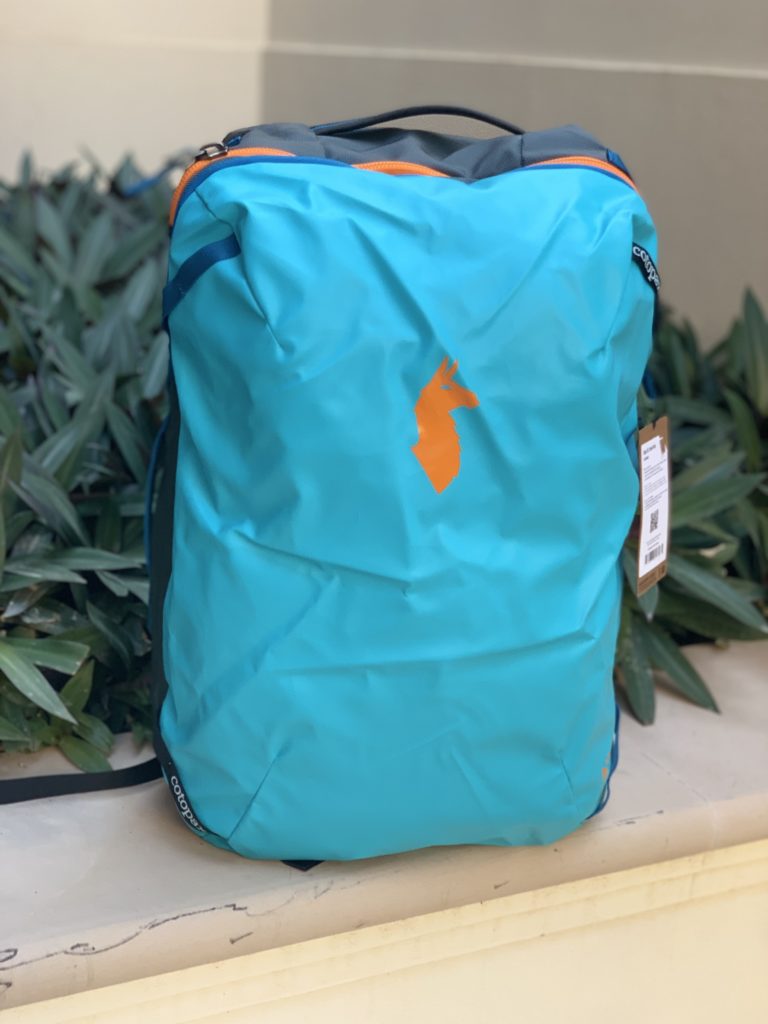
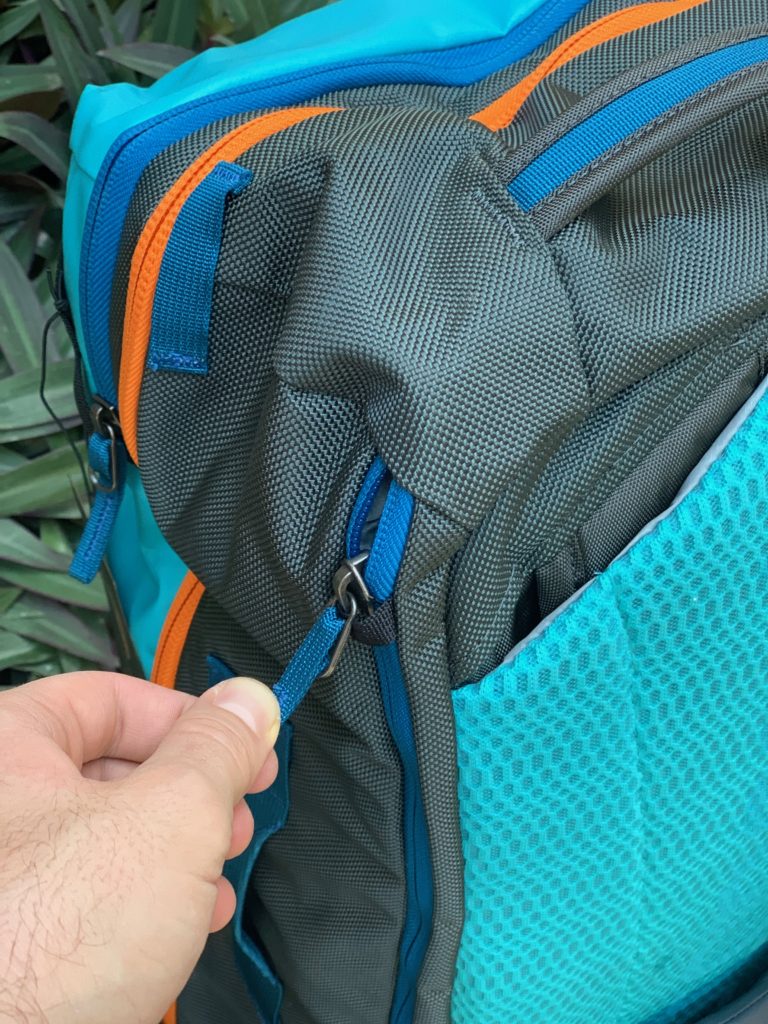
COTOPAXI BACKPACK REVIEW: MEET THE ALLPA 35L TRAVEL PACK
It’s official: My first Cotopaxi backpack has replaced my decade-old carry-on suitcase. You know, the kind of luggage that rolls not-so-gracefully over bumpy surfaces, won’t properly stand up because one of the feet is broken off, and is annoying to pack because of that metal bar in the bottom.
As wonderful as it felt to say goodbye to that old thing and embrace the functionality of a backpack-meets-suitcase “travel pack,” I needed something that I could use for longer trips–a durable backpack that would be versatile enough for international flights, road trips, and camping adventures.
Enter the Cotopaxi Allpa 35L Travel Pack. This is the stuff Type A dreams are made of, my friends.
I was pretty stoked when I learnt about Cotopaxi and I’ve quickly become obsessed with these Cotopaxi bags. The Allpa backpack was launched through an Indiegogo campaign, and Cotopaxi managed to smash their goal of $50K–raising over $1.3 million to kick off production. Crazy!
I’m excited to finally have my hands on one, and I’m excited to share my thoughts with you after having road tested it. In this Cotopaxi Allpa 35L review, I’m sharing a breakdown of the features, a sneak peek inside with my unboxing, what I like, and what I might change.
About Cotopaxi Gear
Cotopaxi goes beyond making great travel and adventure gear with their Gear for Good philosophy. In addition to funding sustainable poverty alleviation with a portion of their profits, they also ensure fairness, sustainability, and quality in every step of the manufacturing process.
The travel philosophy we embrace here in the GolbETrotters community aligns well with Cotopaxi’s core values:
- To get outside and see the world
- To inspire people to give back to others
This video gives a good background about how they got started and what they’re all about (and it makes me think we should all head to a cabin in the mountains every once in awhile).
Allpa 35L Travel Pack Features
Here’s a quick rundown of the Allpa 35L features:
- Weight-distributing, low-profile harness system
- Carry-on-compatible 35L capacity
- TPU-coated 1000D polyester
- 1680D ballistic nylon paneling
- Suitcase-style, full-wrap zipper opening on the main compartment
- Large zippered mesh compartment on the right side
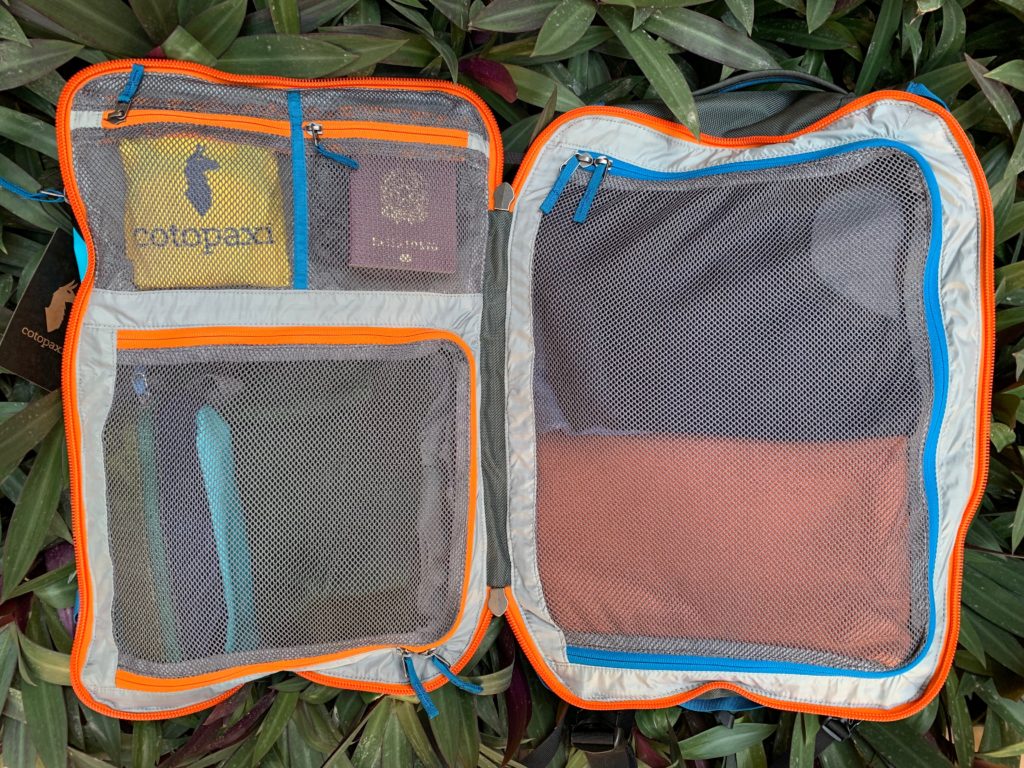
- Subdivided zippered mesh compartment on the left side (makes my Type A heart swoon)
- Padded laptop and tablet sleeve
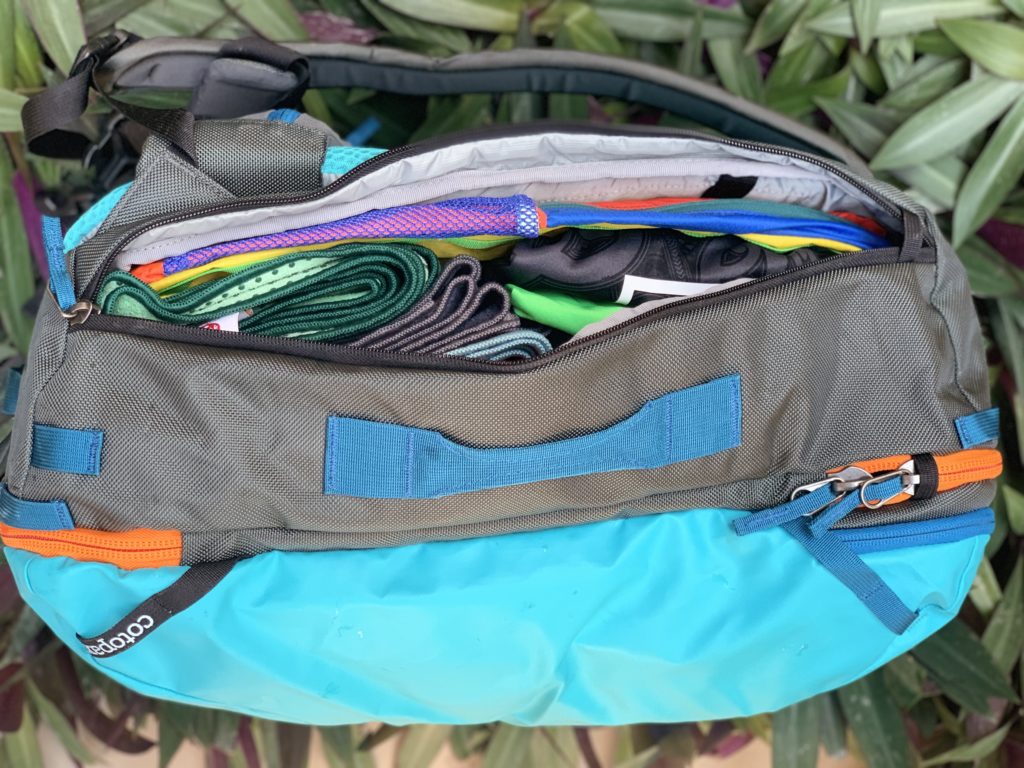
- Shortcut zipper to main compartment
- Top zippered pocket
- Security YKK zippers
- Carabiner lash loops
- Tuck-away straps
- 4 reinforced grab handles
- Included rain cover
There are also optional accessories you can purchase as a bundle:
- Collapsible mesh laundry bags
- Nylon shoe bag
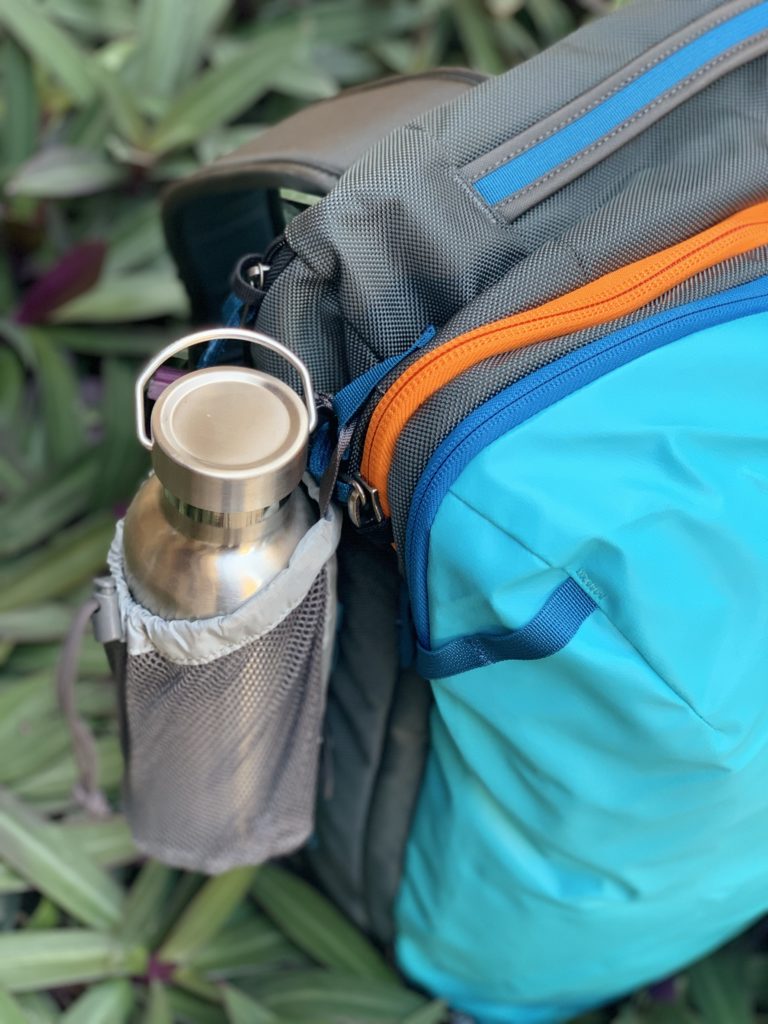
- Mesh water bottle sleeve
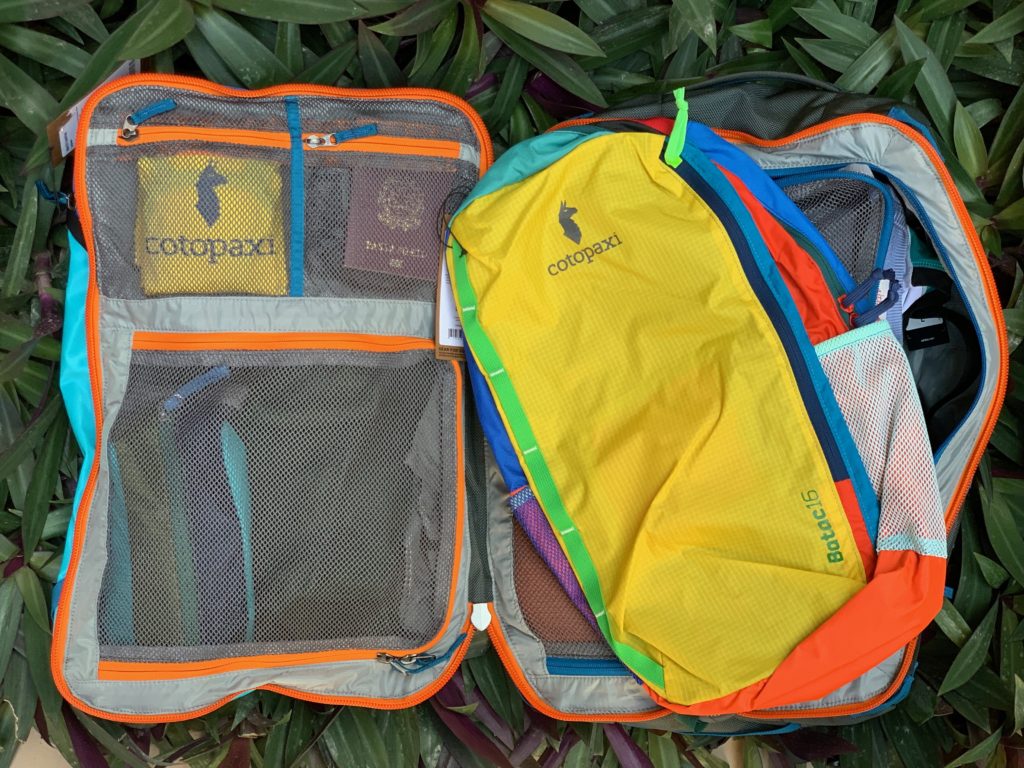
- Batac Del Día Backpack
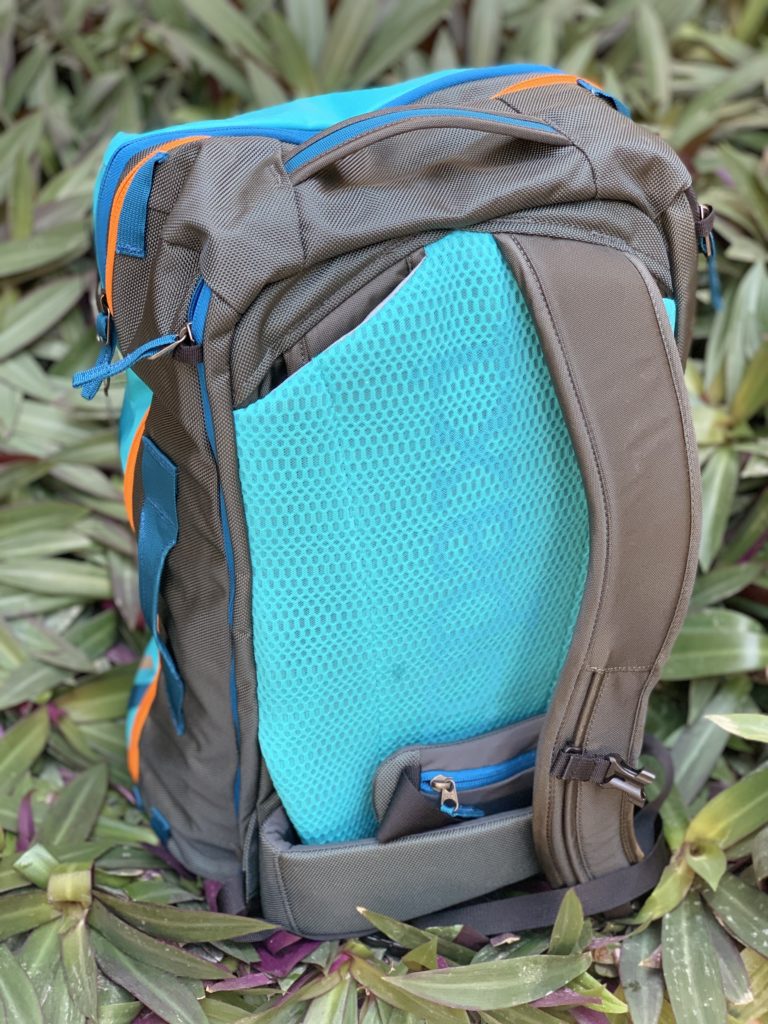
What I Love About the Allpa 35L
Okay…so let’s get to the good stuff already. What do I think of Cotopaxi’s Allpa pack? I have flown with it and I’ve taken it on a road trip and so far, I’m enjoying it.
The suitcase/backpack convertible design has me hooked! Here are the features I love:
Solid, sturdy design: The material is really durable and I know it’s ready for adventures. And…it’s not cat-hair-attracting–for the win! The zippers are hefty, too. Of course, time will be the test in terms of quality, but the build and quality feel rugged. Plus, Cotopaxi guarantees their products for 61 years (the average lifespan of a person living in the developing world), and they offer a replacement, repair, or exchange if anything goes wrong with the product.
Spacious: the main suitcase side is really roomy and deep, as is the front pocket (it’s DEEP). And it’s got compression straps to help you fit even more inside.
Theft-prevention zippers: I don’t know if that’s the official term for this zipper design, but that’s what I’m calling them. The laptop sleeve, main compartment, and back access have a loop that the zipper has to pass through, which helps prevent easy access.
Organized and convertible design: I love the organization factor with various zippered compartments. There’s a zippered access from the back of the pack that lets you get into one side of the main compartment without having to open the entire pack. This could come in handy as long as you packed intentionally… The convertible design that lets you carry it like a backpack OR a suitcase (with backpack straps that tuck away), and the fact that it’s not top-loading like a traditional backpack, make it really flexible and convenient.
Extras: I love the accessories that you can get with it, especially the size of the Batac Del Día daypack. It’s such a perfect size for day trips and short adventures–I’ve even been using it to take to the gym while I’m home. The water bottle sleeve is really nice as well, and it comfortably fits my 32-ounce bottle. I’ve also found the shoe bag and mesh laundry bag to be handy (because I’m always searching around for plastic bags for this stuff, but trying to stop using them as much as possible).
Padded laptop and tablet sleeve: Always helpful when you need to minimize the number of bags you’re taking on a trip.


What I Might Change About the Allpa 35L
There’s not much I would change, but here are a couple things to think about:
Rain cover: Technically, this is mostly a “pro,” given that having a rain cover while traveling is so helpful, and the Allpa comes with one automatically. However, I’m curious about whether Cotopaxi considered making this built in, as that is something I could see making it even more convenient. The major benefit of having it built in is that you can’t lose it or forget it. It also wouldn’t take up space in one of the compartments.
And, you don’t have to remember how to fold it. On the other hand, not having it built into the bag itself could be convenient if you’re trying to save every last bit of space and weight possible and don’t need to take it with you.
Waist strap is bulky to tuck away: I found that the straps (mainly the waist straps) don’t tuck away as easily as they should.
As a little bonus tip/”don’t do what I did”: I had a bit of trouble when packing because I packed the big compartment full of clothes, tightened up the compression straps, added a couple other things…then tried to put my laptop in the sleeve, and it wouldn’t zip. I think it’s not so much of a design “con,” but just make sure to watch how you’re packing if you use the compression straps in the main compartment.
Recommended For
Depending on weather, clothing size, and packing style, the Allpa 35L can be easily used for weekend trips or longer, and is spacious enough for a week or more if you’re a light packer in warm weather. Overall, I highly recommend the Allpa 35L Travel Pack for anyone looking for a spacious travel backpack with an organized design that fits carry-on restrictions. Check out the latest prices and more details here.
RECOMMENDED ACCESSORIES
Del Día Dopp Kit // I just picked one of these up recently, and I love how nicely it keeps all my toiletries snugly organized. It fits perfectly in the front pocket of the Allpa 35L.
Agua Bottle // A reusable water bottle is SO handy for traveling and an easy way to cut down on plastic.
There are several options for add-on accessories with the Allpa 35L that include: mesh laundry bag, nylon shoe bag, and water bottle holder that clips onto the outside of the pack. Plus one of the day backpacks below. While I haven’t used the water bottle holder much so far, I love the laundry bag and shoe bag!
Batac 16L Backpack or Luzon 18L Daypack // These are great to roll up and pack in your suitcase so you have a smaller pack for day trips or hikes on a weekend camping trip. I have both and find the Batac 16L to be a great size for my needs.
(Want something even smaller than a daypack? Grab the Bataan Del Día fanny pack!)
-
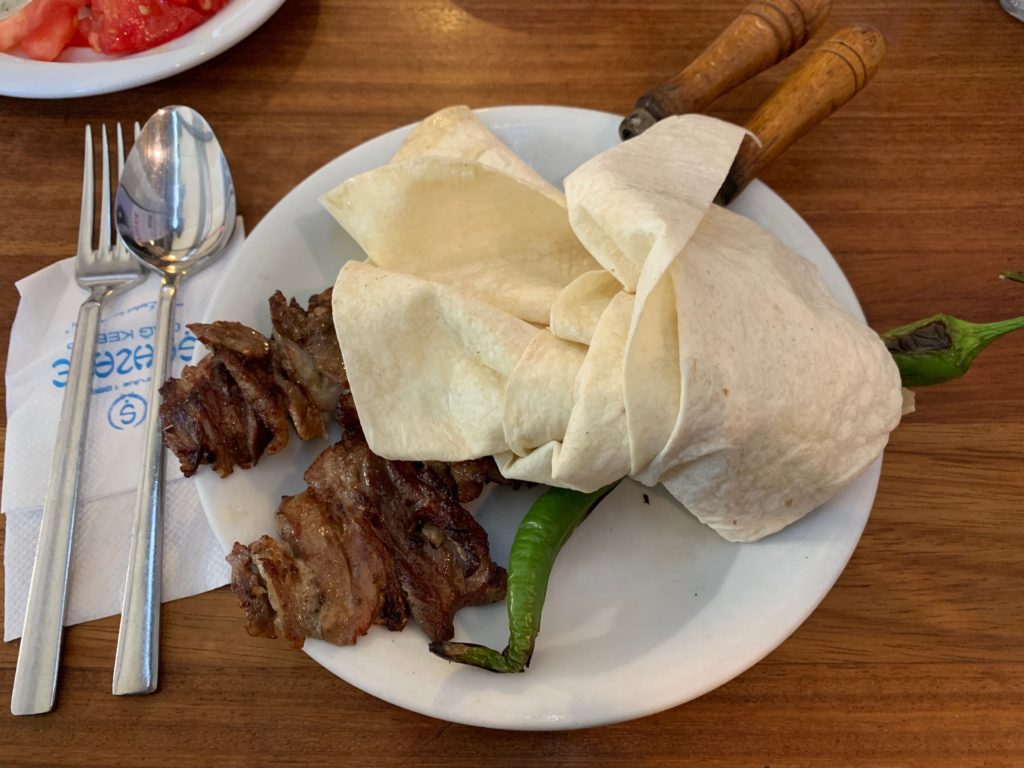
ŞEHZADE CAG KEBABI – Istanbul
Hidden gem, delicious meat. This is a somewhat unique way of roasting directly over charcoal and wood, right in front of your eyes.
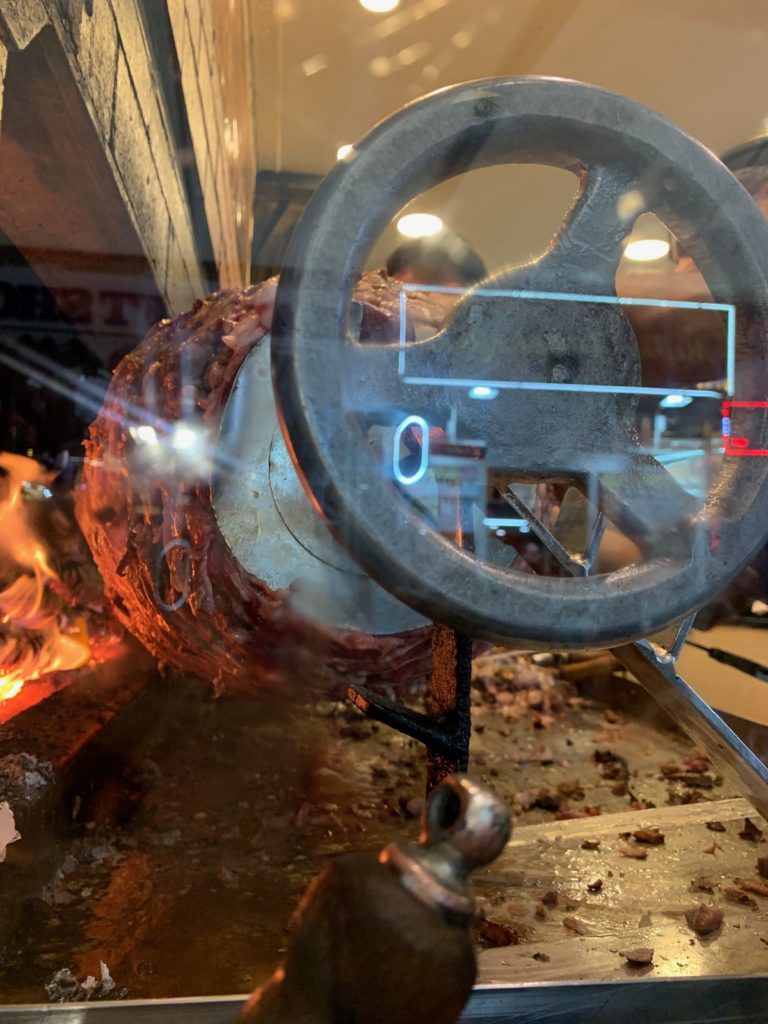
Order a çag kebap with a salad and yogurt and enjoy the thinly sliced, slightly crispy lamb meat on skewers served together with freshly made pancakes.
The place is not large. Some tables outside, some inside and there is an upper floor. Service is fast, people smiling and it is hygienic.
Don’t expect to linger around in your post-meal bliss – it’s a place with a lot of turnaround where people get served and leave fairly quickly. Fairly inexpensive.
☎ (212) 520-3361
Hocapaşa Sokak 6
?11-22
?